Restoring side-bending & rotation for a healthier lower back
Restoring Side-Bending & Rotation for a Healthier Lower Back
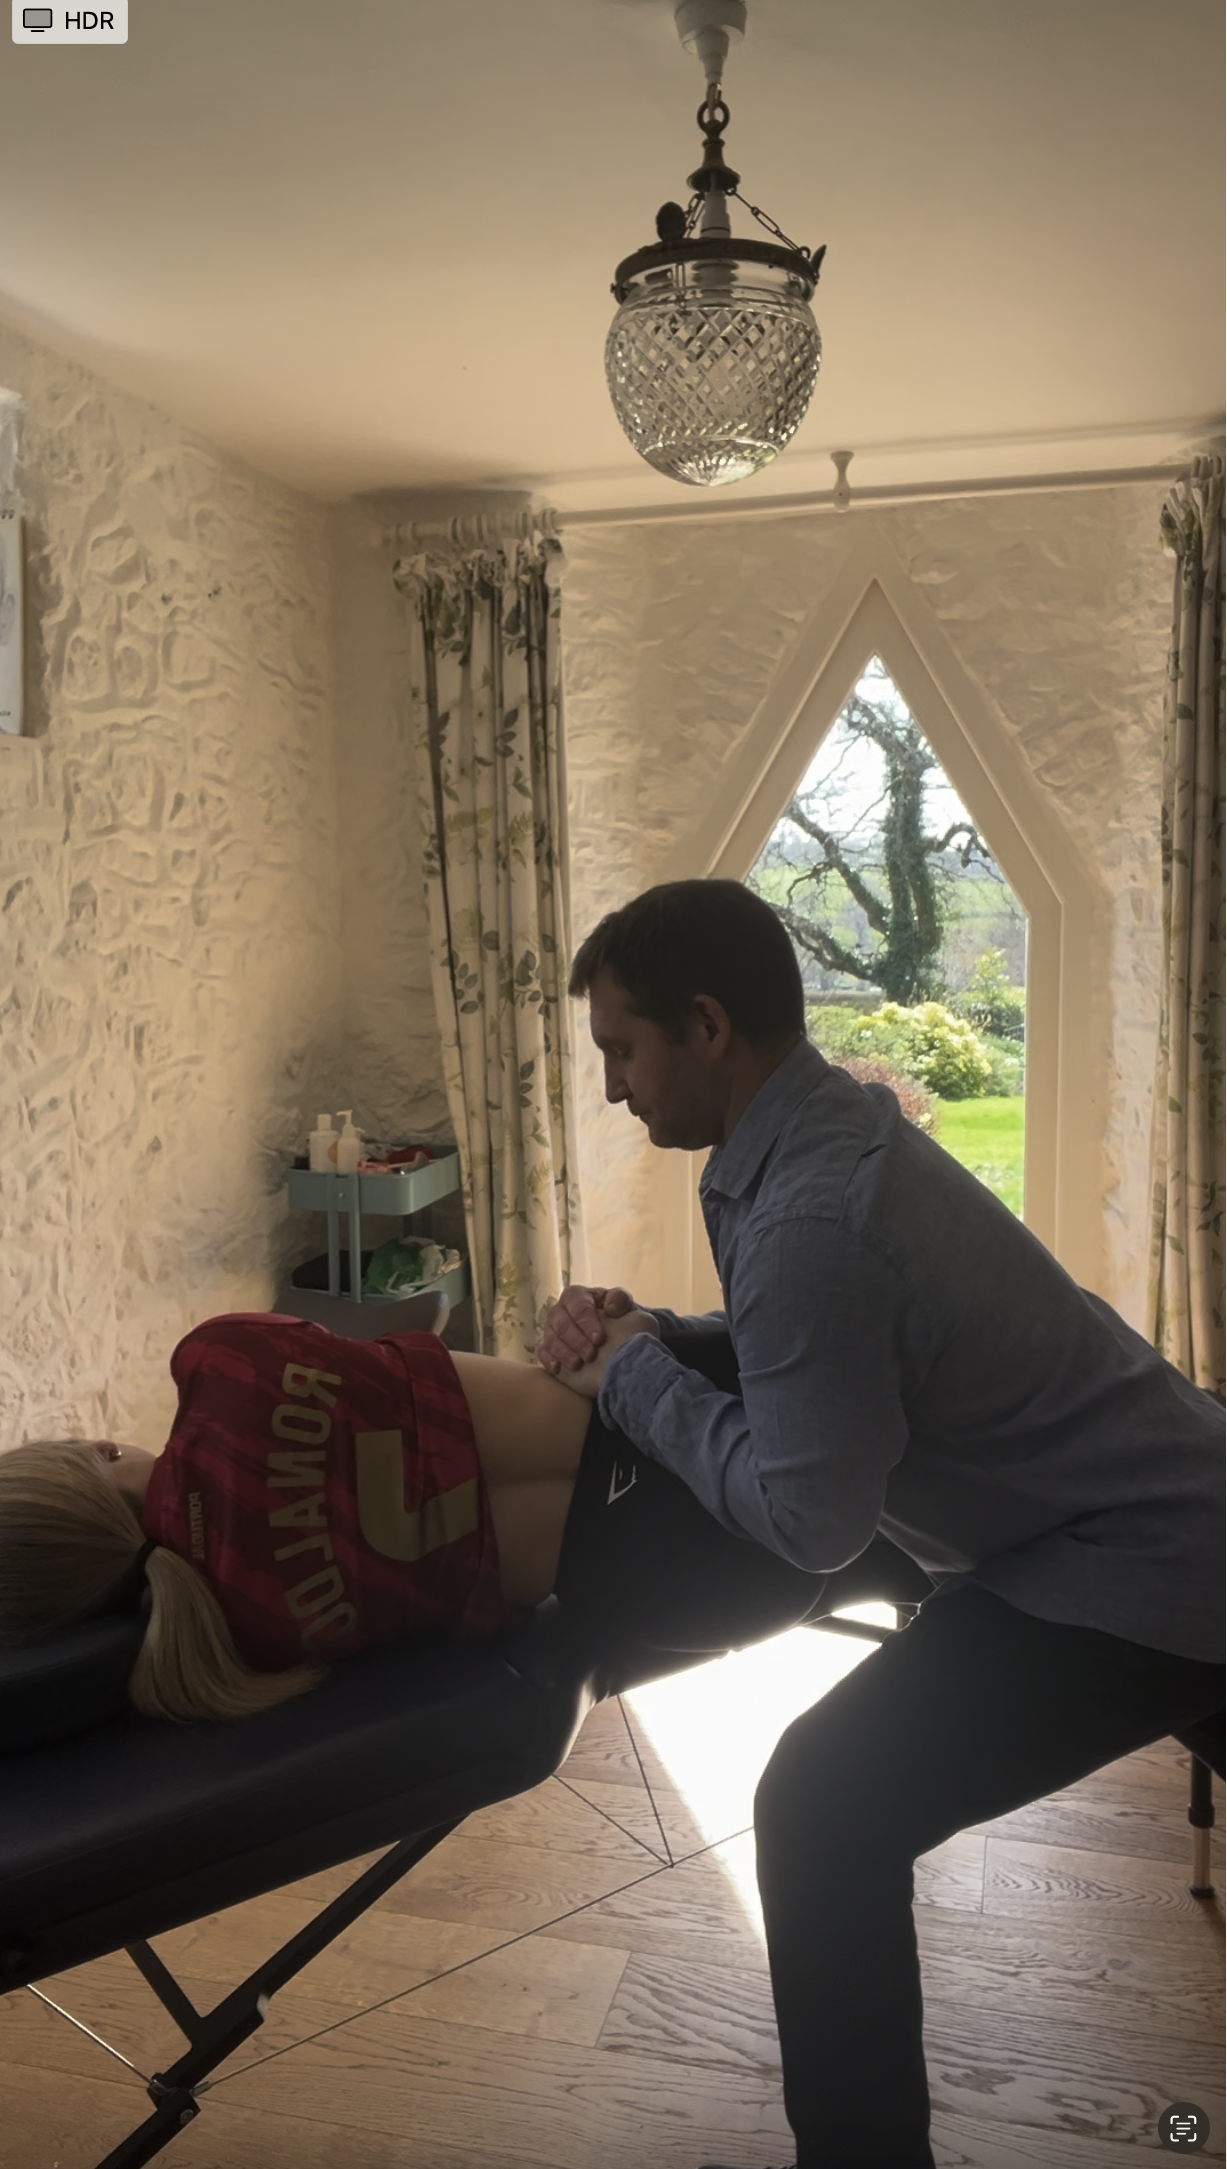
Welcome to the third part of our series on lower back pain. Linked here is a piece on helping choose the right therapist for you with lower back pain. https://www.springbackrehabilitation.co.uk/are-you-a-true-back-specialist-in-sports-therapy/
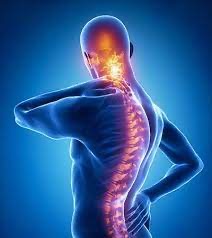
So far, we’ve explored how to unlock hip mobility and how hands-on therapy can support recovery. In this edition, we focus on two often-overlooked movements of the spine: side-bending and rotation. Both are crucial for everyday function — from walking and lifting to simply reaching down to tie your shoes.
When these movements become restricted, the lower back can stiffen, forcing other joints to compensate and often leading to discomfort. Today’s drills are designed to safely restore side-bending and rotation by combining spine, rib, and hip mobility in a progressive way.
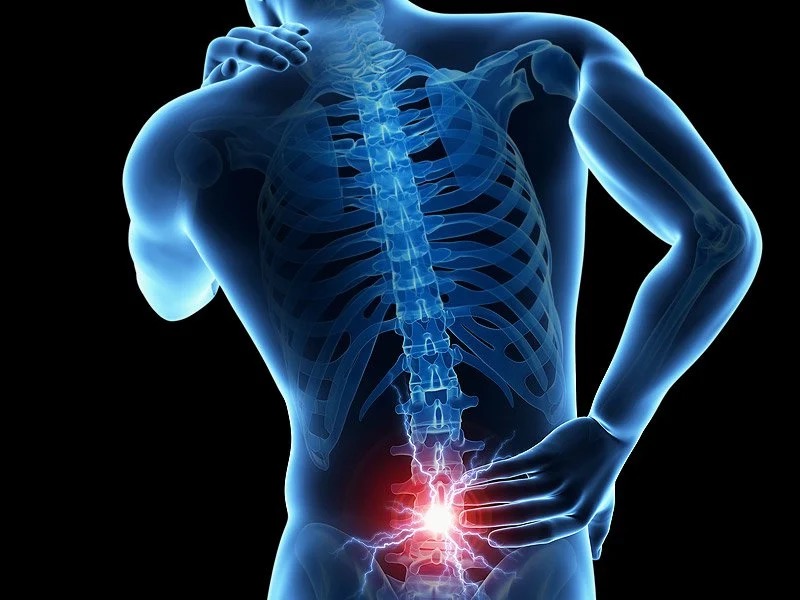
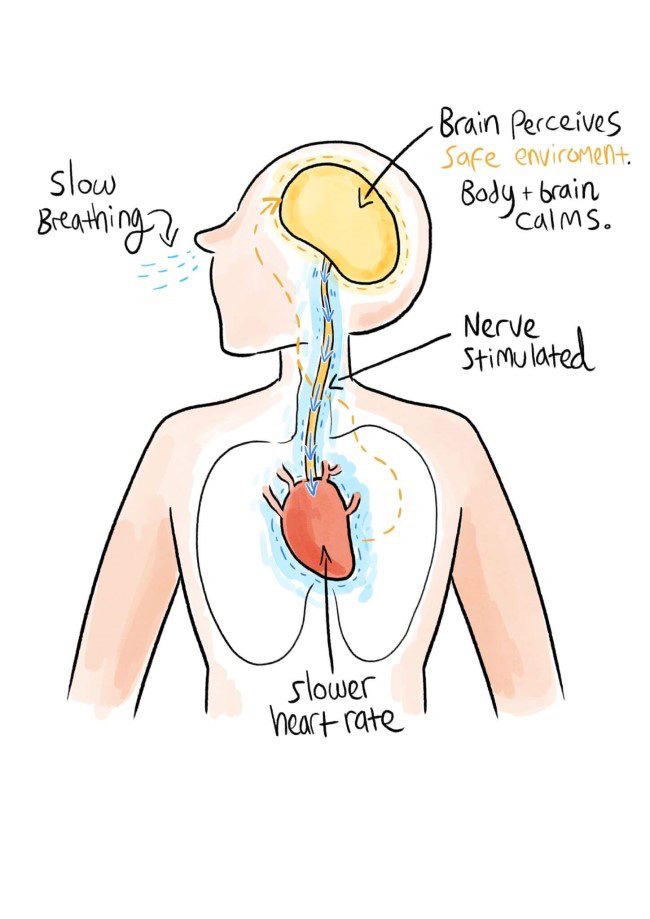
The human spine is an incredibly strong structure and has evolved over millions of years of evolution to be this strong and allow the freedom of movement for us to enjoy and remain safe. People often become fearful of movement when pain presents and stiffen or guard themselves from moving and a vicious cycle ensues. Working through side-bending in particular is very important to starting to allow the brain the feeling of safe movement and unlocking a lower back that is reluctant to move.
Listed below are some safe exercises/ drills to work into your movement “tool box” for improving spinal mobility and subsequent movement.
Exercise 1: Wall-Supported Lumbar Side Bends & Circles
We start by reintroducing safe side-bending before expanding into circular motion.
How to do it:
· Stand side-on with your shoulders and back lightly against the wall.
· Bend your knees slightly, crossed over your chest.
· Slowly bend your spine sideways without moving into any pain. Return to centre, ensuring your head is the last part of the body to come to the mid-line, your side-bending muscles need to lead the movement, not the head.
· Repeat 6–8 times on both sides, then progress into small forward bends, keeping your sacrum (very lower back) in contact with the wall.
· Then progress into small lumbar circles, lean to one side, peel the opposite shoulder off the wall & allow yourself to “roll” into the forward flexion position you have practised (and know is safe) and continue the roll until that shoulder that started the movement touches the wall. Now roll back further so both shoulders are on the wall and you are in the opposite side bend from where you started and return to midline. Repeat 4 – 5 times and then in the opposite direction.
Why it helps: Restores control, reassures the nervous system, and re-coordinates the spine and pelvis.

Exercise 2: Rib Glides
The ribs and thoracic spine play a huge role in side-bending. When they move better, the lower back doesn’t have to do all the work.
How to do it:
· Sit tall on a chair.
· Place your hands around your ribcage or out to the side like a set of aeroplane wings.
· Gently slide your ribcage to the left, then to the right, without rotating, with the arms out to the side aim to guide your fingers left or right to initiate the movement.
· Keep the movement smooth, aiming for 8–10 reps each way.
Why it helps: Encourages fluid movement between the
ribcage and spine, reducing stiffness in the lower back.
Exercise 3: Hip Drops
Healthy side-bending relies on free-moving hips. This drill targets the hip–pelvis–spine connection.
How to do it:
· Stand tall, feet hip-width apart.
· Shift your weight onto one leg.
· Let the opposite hip drop slightly towards the floor, then lift it back to level.
· Perform 8–10 reps per side.
Why it helps: Restores lateral hip mobility and unloads unnecessary tension from the lumbar spine.
Exercise 4: Pelvic Rotation with Band Resistance
Rotation is often lost when the back feels fragile. This drill teaches safe pelvic rotation while the upper body stays strong and stable. Many exercise programs start with the upper body rotating around the lumbar spine/ pelvis, here I like to work the pelvis rotating first.
How to do it:
· Anchor a resistance band at chest height.
· Hold the band with both hands, arms straight out in front.
· Brace your core and keep your chest and shoulders still.
· Rotate your pelvis left and right beneath your stable torso.
· Perform 6–8 slow reps each way.
Why it helps: Builds confidence in spinal rotation, improves hip–pelvis–spine coordination, and strengthens your core under load.

Step 5: Integrated Flow
Once you’re confident with each drill, link them together:
1. Side bends → circles
2. Rib glides
3. Hip drops
4. Banded pelvic rotation
Move smoothly from one to the next. This flow helps your spine, ribs, and hips work as a team — essential for walking, bending, and daily life without pain.

Side-bending and rotation are vital “cogs in the wheel” of the hip–pelvis–spine system. By retraining them, you not only reduce stiffness and pain but also build resilience for the movements life constantly asks of your body. This needs to be done to help the brain feel safe with movement.
This approach complements the work we do hands-on in clinic, combining soft tissue release with movement education to ensure lasting results.
👉 Missed the earlier parts of this series? Catch up here: